Google Cloud Print (GCP) is a quite useful Google service. As a bonus you’ll have a cheap Linux based print server in your local network, which is alone a nice thing to have. All this thank to the amazing Raspberry PI ARM GNU/Linux mini PC.
Why ?
Allowing you to print in a GCP compliant printer from everywhere and from every device of yours, be it a desktop, a tablet or a smartphone
How ?
There are quote a lot of printers out there supporting GCP out of the box, but here I will explain how to turn every Linux supported printer in a fully functional GCP printer.
Requirements :
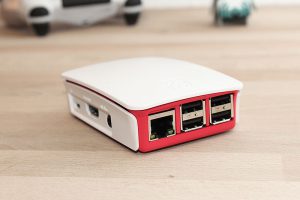
- a Raspberry Pi
- a Raspbian Jessie image
- an Internet connexion
- a Google Account
- a USB/LAN Printer
a Raspberry Pi B or B+, with the latest version of Raspbian, or our MIcroSD Card 8GB Class 10 Raspbian preinstalled.
Step 1: Install CUPS
First of all install cups, the most famous Unix print server:
sudo apt-get install cups
Now you’ll have to edit the cups server configuration, to allow configuration of printers from your local network.
Edit /etc/cups/cupsd.conf and find the line:
Listen localhost:631
Delete localhost:, so that the line becomes:
Listen 631
Now search the Location directives <Location />, <Location /admin> and <Location /admin/conf>, and in all of them add the line
Allow from 192.168.1.*
Here I’m assuming that your local network is 192.168.1.*, please change this according to your local network configuration. This make CUPS accept connection from your local network, allowing you to configure printers from an handy web interface.
As a last step add pi user to lpadmin group:
sudo adduser pi lpadmin
Assuming that your Raspberry PI has address 192.168.1.100, access cups web interface at the address:
https://192.168.1.100:631/admin
Login with the credentials of user pi.In Raspbian the default credentials are pi/raspberry, but you changed the default password, right?
Now you can connect your printer to the Raspberry PI, then you can click on Printers and add the printer in CUPS, choosing the right model and the recommended driver/ppd.
Step 2: Install Google Cloud Print Services
Version A : Installing from Cloud Print Packages
First of all you’ll need to install some dependencies:
sudo apt-get install python-daemon python-cups
Then you can download the latest version of cloudprint and couldprint-service deb packages from this page. Put the packages on the Raspberry PI (or download the packages directly from the PI using wget), then install the packages with:Listen localhost:631Delete localhost:, so that the line becomes:
sudo dpkg -i cloudprint*.deb
Then all you have to do is to configure your Google account (the account you’ll use to access Google Cloud Print from your devices) by doing:
sudo service cloudprintd login
It will ask you your Google account and your password. Then you can start the service with:
sudo service cloudprintd start
The service should be launched automatically at boot from now on, so you’ll not need to start it every time manually.
Version B : Installing from Chromiun Browser
Installing Chromium
To get started, open up the terminal on your Raspberry Pi and enter the following command:
sudo apt-get install chromium-browser
When prompted, type Y and hit enter to continue the installation.
Once Chromium is installed, we need to launch it from the desktop environment. You can find it in Raspbian’s start menu under Internet -> Chromium Web Browser:

After launching Chromium, navigate to the menu icon in the upper right corner, click it, and then select “Settings”. Scroll down in the Settings window until you see “Advanced Settings” and, after clicking that, continue scrolling down through the expanded settings options until you see the entry for Google Cloud Print:

Click “Add Printers”. You’ll be kicked over to an authorization page like so:
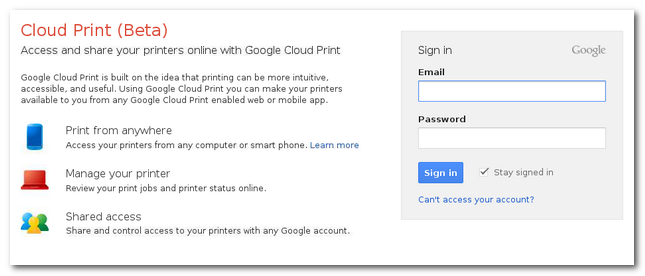
Fill in the Google account credentials of the account you use to manage your Cloud Printers. Make sure “Stay signed in” is checked, since this is going to be a stand alone print server we don’t regularly interact with.
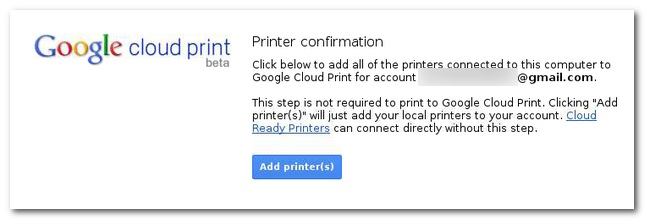
After authorizing your account, you’ll see the “Add printer(s)” button. Whichever printers the Raspberry Pi has access to (be they local or networked) will be added to your Google Cloud Print account. If those printers were previously added by some other means, you’ll want to visit your Cloud Print management page to remove the older entries.
That’s it, now you could try to print from your PC, Tablet or Smartphone with Google Cloud Print (see GCP page for instruction on how to print) and then wait for your beloved printer to enter in action!
Optional: Printing from another Linux box in the network
Other than having a Google Cloud Print enabled printer now you have also a cheap CUPS print server in your local network. You can print from other hosts in the network very easily!
On other hosts add the remote printer using ipp (use the same address you see in browser when editing the printer on the CUPS web interface, but with ipp instead of http).